
If you have been assigned a WebEx license, then you have the ability to host WebEx audio and/or video meetings, or conferences, directly from your computer or smart device. Your account will have access to training materials and videos on your account homepage, but this document will assist in setting up WebEx on your computer and smartphone and starting your first meeting.
The WebEx website has a wealth of information on usage available at: https://www.webex.com/business-continuity/business-continuity-end-user.html
First take a minute to look over some of the features available in WebEx Meetings: https://www.webex.com/webexremoteessentials.html
Note: While this document uses the PC version as an example, the Mac version is essentially the same. There is also a Cisco WebEx Meetings app available on both the Apple and Android appstores, which allows for most of the same features from your smartphone. Initial setup should still be performed from a computer, then you should be able to log into the smartphone app with the same credentials.
Note: This document does not cover Cisco WebEx Teams, which is also a part of our WebEx subscription. WebEx Teams is similar to COB’s existing Microsoft Teams in functionality, but Microsoft Teams offers better integration with our Office365 portfolio of applications, and should be used in lieu of WebEx Teams for IM/chat, messaging and collaboration. Contact the help desk if you need assistance setting up MS Teams with Office 365.
Note: If you are working remotely, WebEx runs best if you don't VPN into the city's network first.
Accessing WebEx for the first time
Once assigned a license by a WebEx administrator, you’ll receive and email similar to the one below:
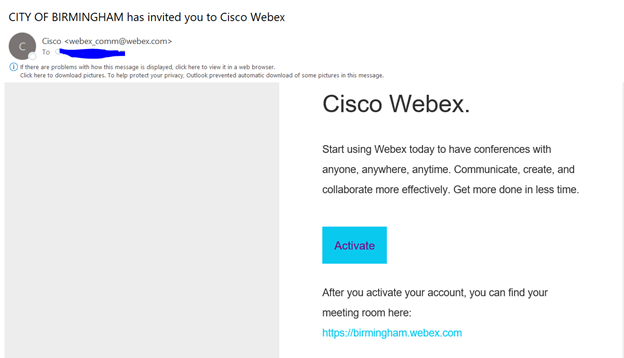
You’ll click the “Activate” button and you’ll be asked to login with your City of Birmingham credentials.
Your email address should auto-populate, but if not, enter your normal COB email address as firstname.lastname@birminghamal.gov, as below.
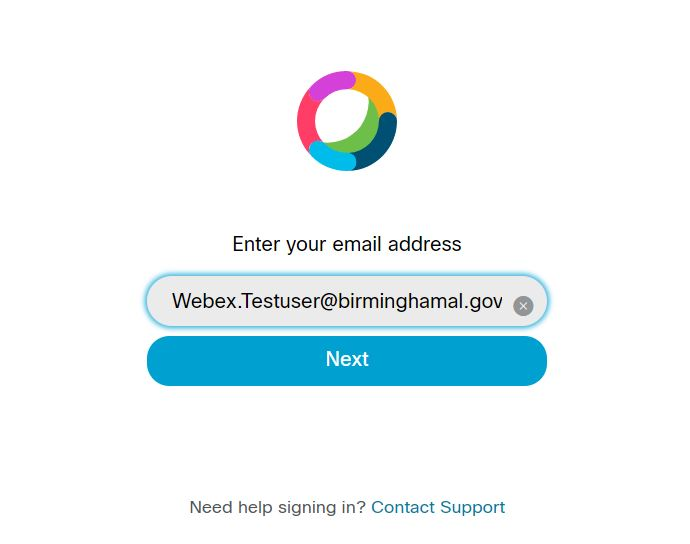
If asked for the site name enter: birmingham.webex.com
When asked for your username and password, enter your username as username@birminghamal.gov with your normal Windows password.
DO NOT use your email address here.

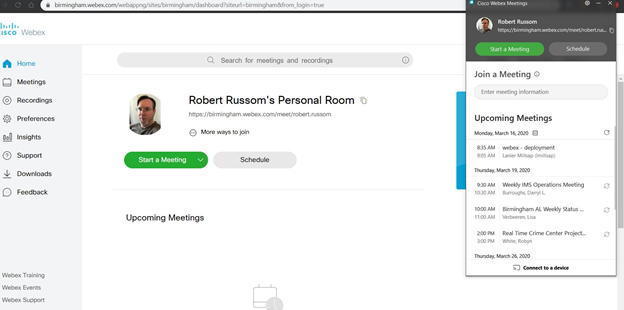
Once you active your account, you’ll be logged into your personal room.
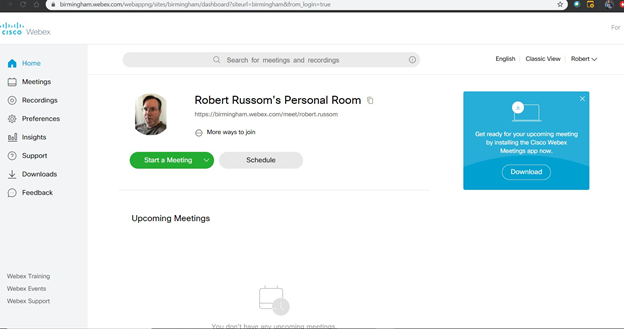
From this webpage you can set and modify your preferences, access any recordings you’ve made of your meetings, and check usage for your hosted meetings with Insights.
In preferences you can change both the name and address for your personal room, and even change how you log into your account.
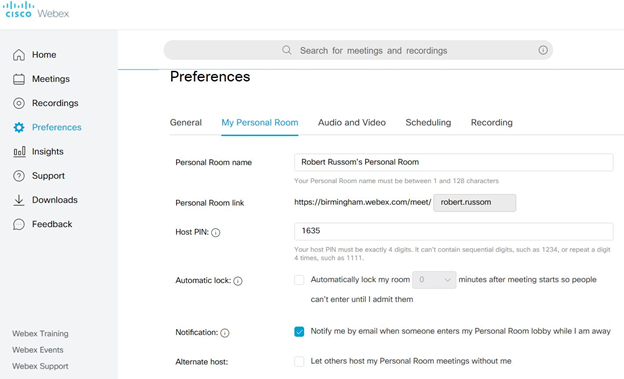
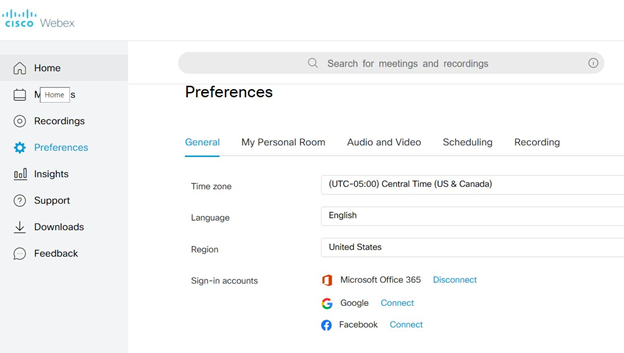
It’s recommended to use your City of Birmingham credentials to log in as they are always in sync with your desktop username and password. Hint: Do not change your password while logged into WebEx to avoid issues with your account.
You can start or schedule a meeting directly from this webpage, but it’s recommended to download and install the Meetings apps from the blue download link on the right. You’ll then have a new app installed where you’ll be able to see, join, schedule and start any meetings.
Starting your first WebEx meeting
To start an impromptu meeting, press the green Start a Meeting button either on your homepage or the Meetings app.
You’ll be immediately placed into a meeting as the host awaiting attendees. Anyone you give your personal room address to (https://birmingham.webex.com/meet/*youraccount*) will be able to join.
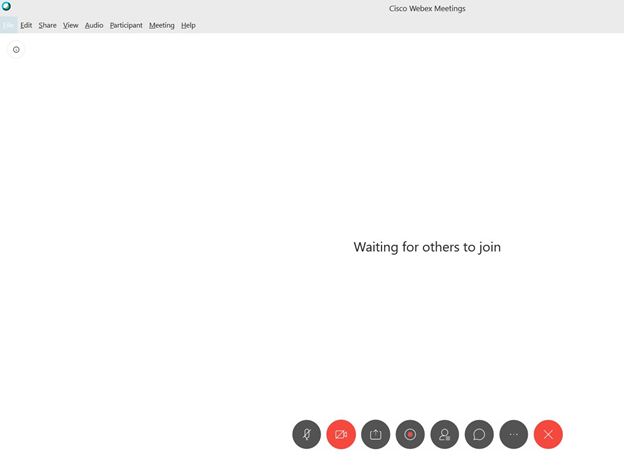
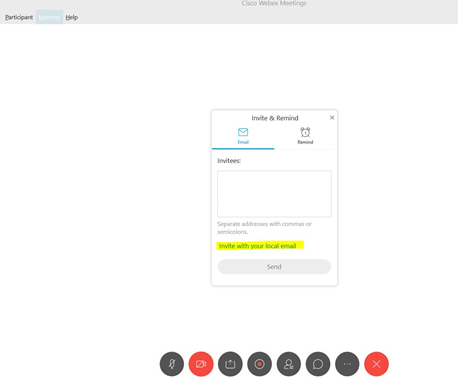
At this screen, you can set other options for your meeting, such as muting all attendees as they enter, and inviting others to your meeting.
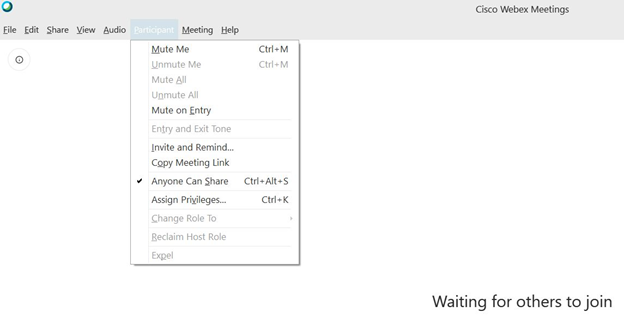
To invite others to this ad-hoc meeting, click on “invite and remind”. A pop-up window will appear and you can add email addresses here, but it’s best to click on “Invite with your local email” which will use your Outlook email to send the invite. Invitees will just need to click on the green “Join Meeting” button.
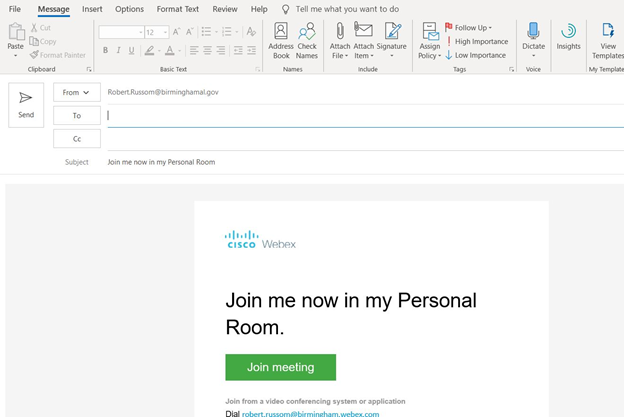
You can send the link to individual users, or distribution groups, internally or externally.
When you’re done, end your meeting by clicking on the “X” in your meeting window.
Scheduling a meeting
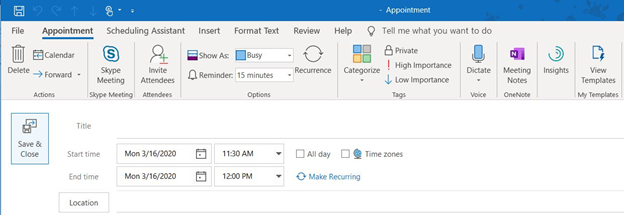
Click on the “Schedule” button either on your webpage or Meeting app. The scheduling assistant will open.
Select a time for the meeting:
Click on “Invite Attendees” and add individual users or a distribution group and set your location for the meeting.
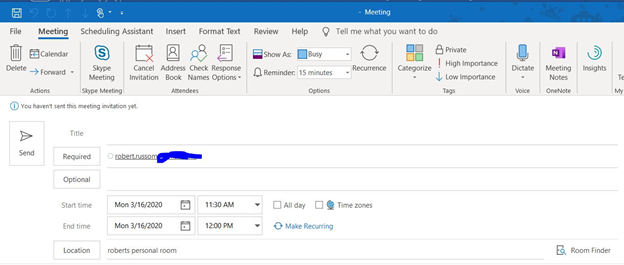
The user will receive an invite and you’ll be updated when they accept. An Outlook calendar entry will be created for you for your meeting.
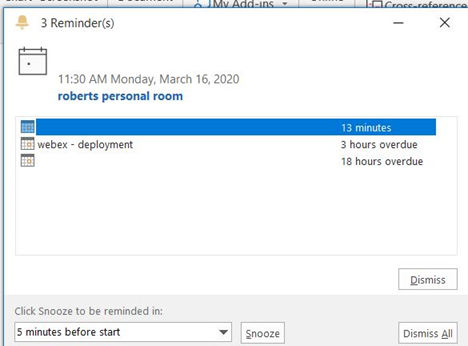
Please note that you won’t connect automatically and must join your meeting at the assigned time.
You can also download the Meetings app from the Download link on the left-side menu, as well as the Outlook productivity tools. The productivity tool allow you to start and schedule WebEx meetings directly in Outlook.
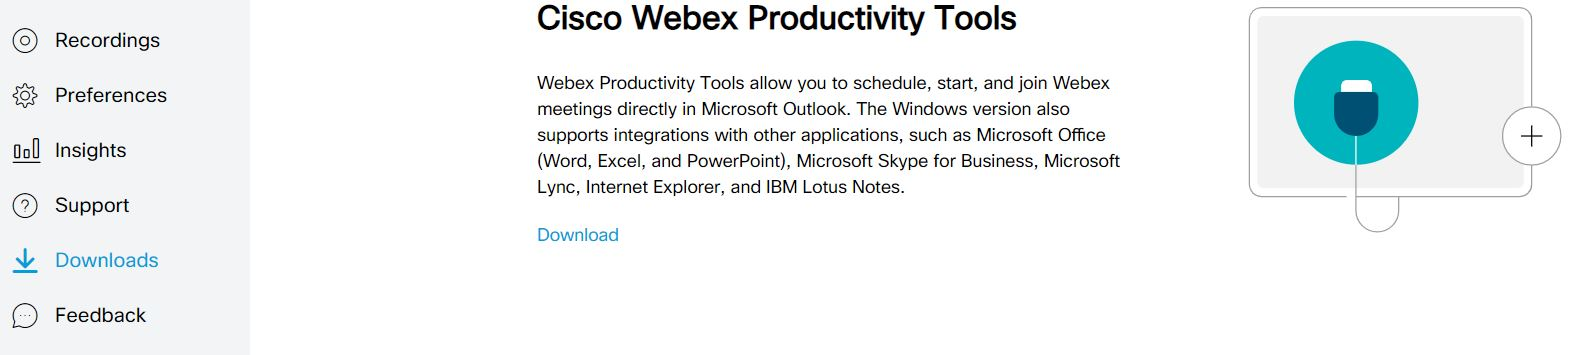
Click the Download link and run the webexplugin.msi application from your computer's download folder. It's recommended to close Outlook first.
Open Outlook and you'll now have two new buttons for WebEx.

Clicking Meet Now will start your personal room, while clicking Schedule Meeting allows you to schedule meeting, invite participants and select rooms and screens, if available.
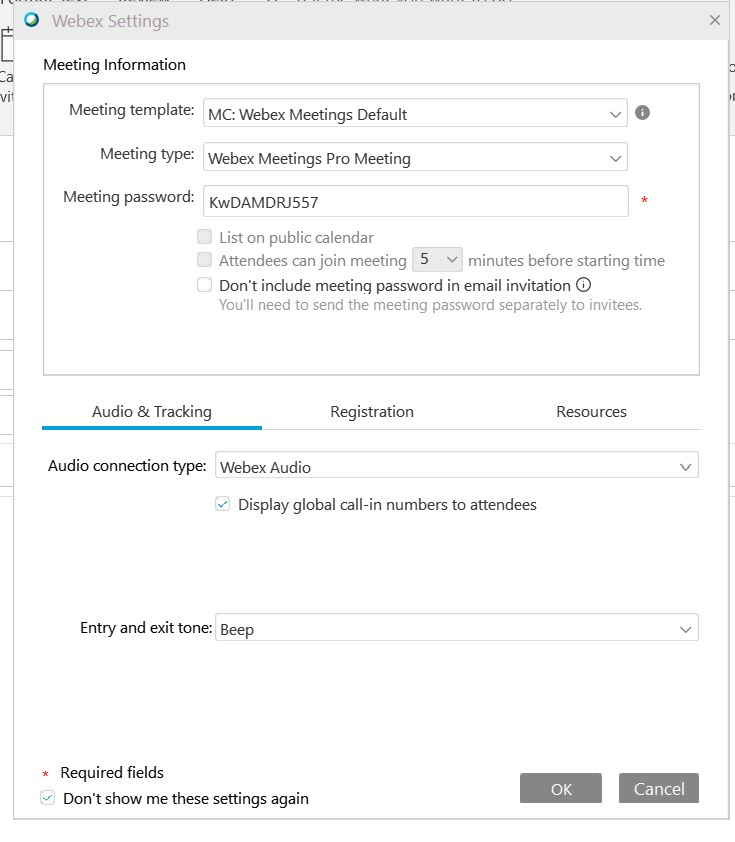
The first time you schedule a meeting you'll be asked to set your meeting preferences. The defaults are good, so click okay.
Finally add the participants, set your date and time, a room, your personal room, or a WebEx Meeting, and click send.
Comments
0 comments
Article is closed for comments.